
JVM (Java Virtual Machine) is an abstract machine. It is a specification that provides runtime environment in which java bytecode can be executed. JVMs are available for many hardware and software platforms. JVM, JRE and JDK are platform dependent because configuration of each OS differs. But, Java is platform independent. The JVM performs following main tasks:
- Loads code
- Verifies code
- Executes code
- Provides runtime environment
JDK is an acronym for Java Development Kit.It physically exists.It contains JRE + development tools.
Firstly, we need to check your properties computer to choose available JDK version. After that, we'll download available JDK version and install it. Refer the following steps:
- Right click at This PC icon -> choose Properties

- In System properties, look at System type information -> 64-bit or 32-bit

- Search on the internet the JDK version which available with your operating system and download it. For example: your operating system is 64-bit, you need to download and install JDK version 64-bit. Click here to download JDK (Note: version can be change, you need to check the lasted version which available with your computer)

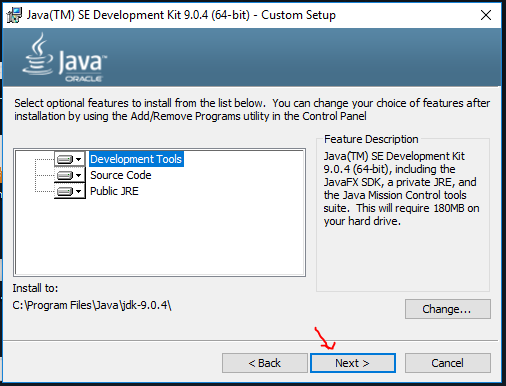
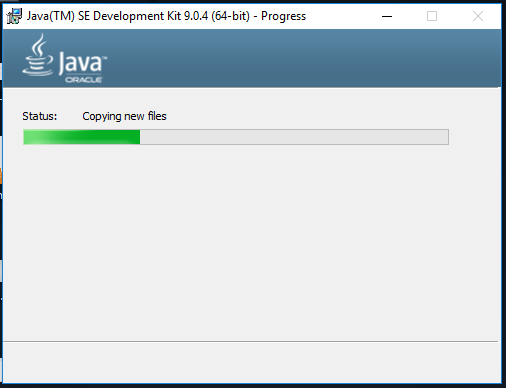
- Click at the lasted version like the picture above or other available version which you want to download -> Choose Accept License Agreement and choose version jdk-9.0.4_windows-x64_bin.exe (your version maybe difference) like the pictures below -> wait for complete download and run as administrator to install it.


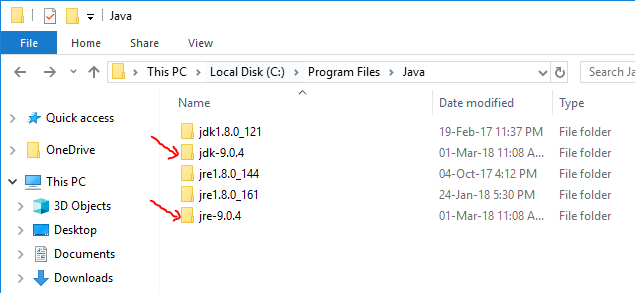
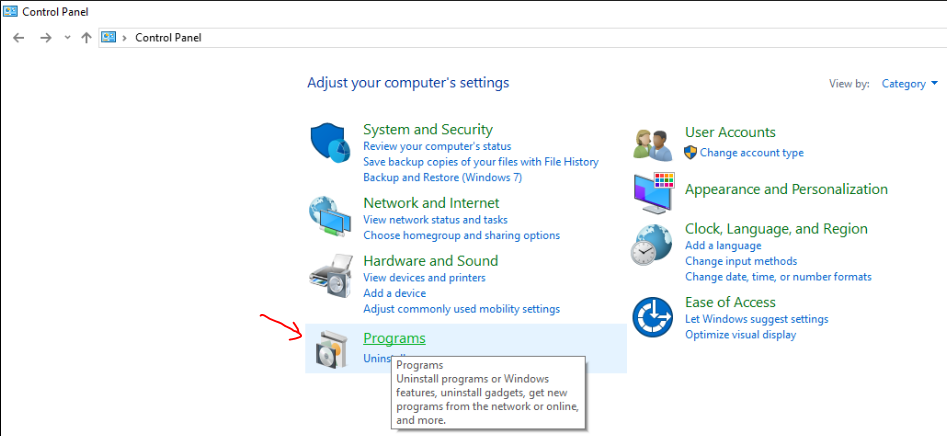
- After that, we can check JDK installed at Control Panel

- Or you can check through command line: Press Windows+R -> In command line screen, type command: java -version -> If your screen display JDK information like the picture below, JDK installed.


Finally, we continue to install and config java environment variables (JAVA_HOME, Path) to programming Java. Refer the following steps:
- Right click at This PC icon -> choose Properties

- Choose Advanced system settings

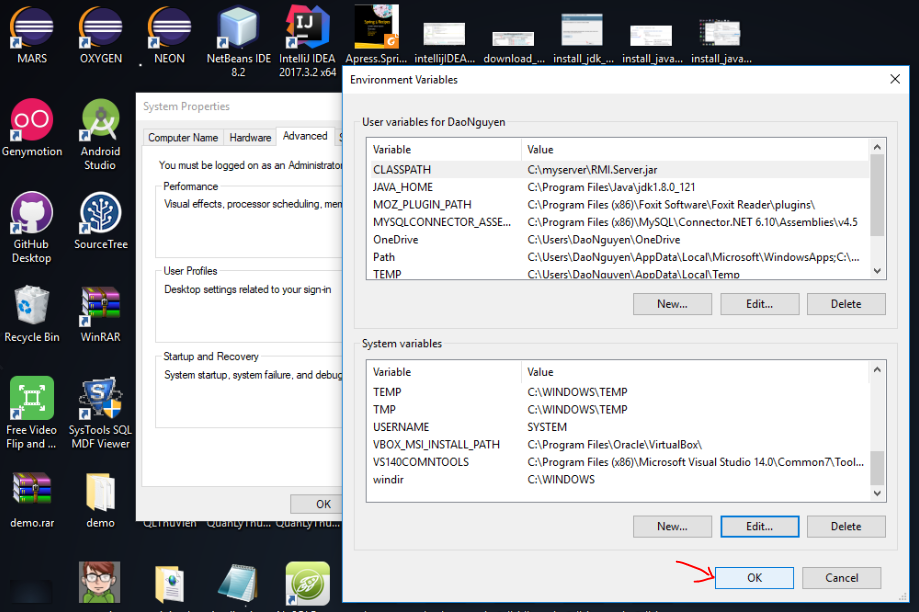
- Choose Environment Variables

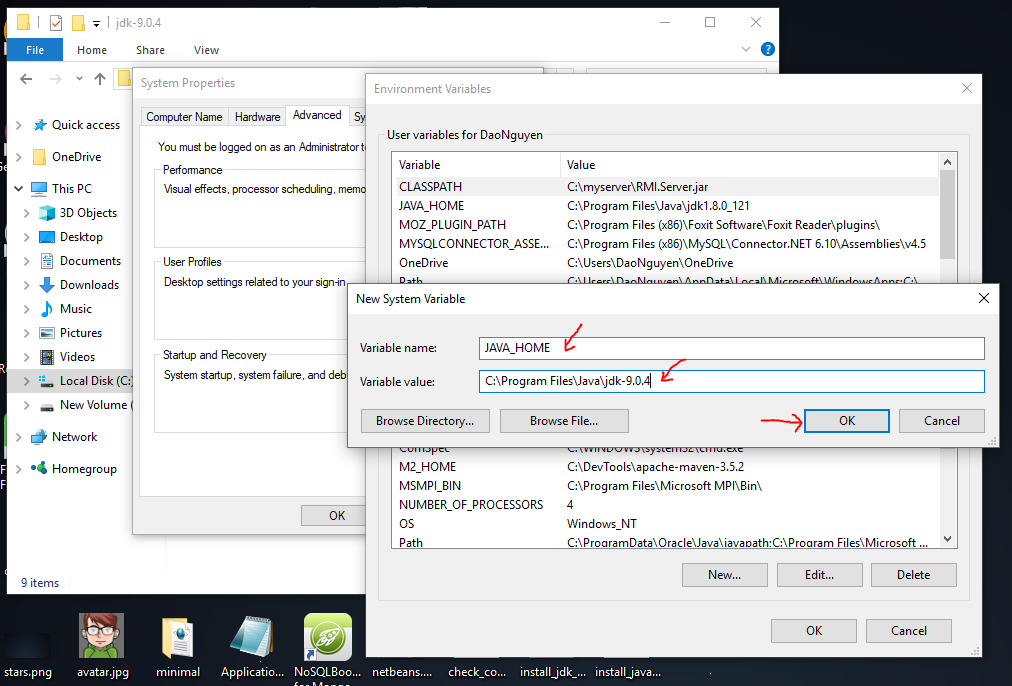
- At System variables, click New button -> in Variable name field, type JAVA_HOME. In Variable value, Browse your link to folder contain jdk and jre which you installed at the previous steps. Look at these pictures below to follow:

- At System variables, scroll to find Path variable. When find out, left mouse click at Path variable and click Edit button. Continue to click Edit Text button. At Variable value field, type these words at the end of current string ;%JAVA_HOME%\bin;.; After that, click OK three times.


- After completed install java environment variables, we can check it again by command line like the previous steps: Press Windows+R -> type cmd -> Enter. In the command line screen, type command javac -version -> Enter and java -version -> Enter. But we should understand that: command javac will compiler java source (.java) to byte codes (.class). And command java will get these byte codes (.class) and convert to machine code to run. You can look at these pictures below to know more.

We were completed install, config JDK, JAVA_HOME, Path here. And we also start programming java whenever we like. See you on the next tutorial with the legend program Hello World and some basic commands when programming java.
Wish you success :")
0 nhận xét:
Đăng nhận xét